How to assemble and use a Relx vape

As vaping becomes increasingly popular, more and more people are turning to sleek and easy-to-use devices such as the Relx vape to enjoy their favorite vaping flavors. Relx vapes are known for their simple and user-friendly designs, making them a great option for beginners. Here, we’ll discuss how to assemble and use a Relx vape.
Step 1: Charge your device
Before using your Relx vape, you’ll want to make sure it’s fully charged. To charge your Relx, simply place it on the charging dock provided in the box. It’s essential to note that the charging dock needs to be connected to a power source.
Step 2: Assemble the device
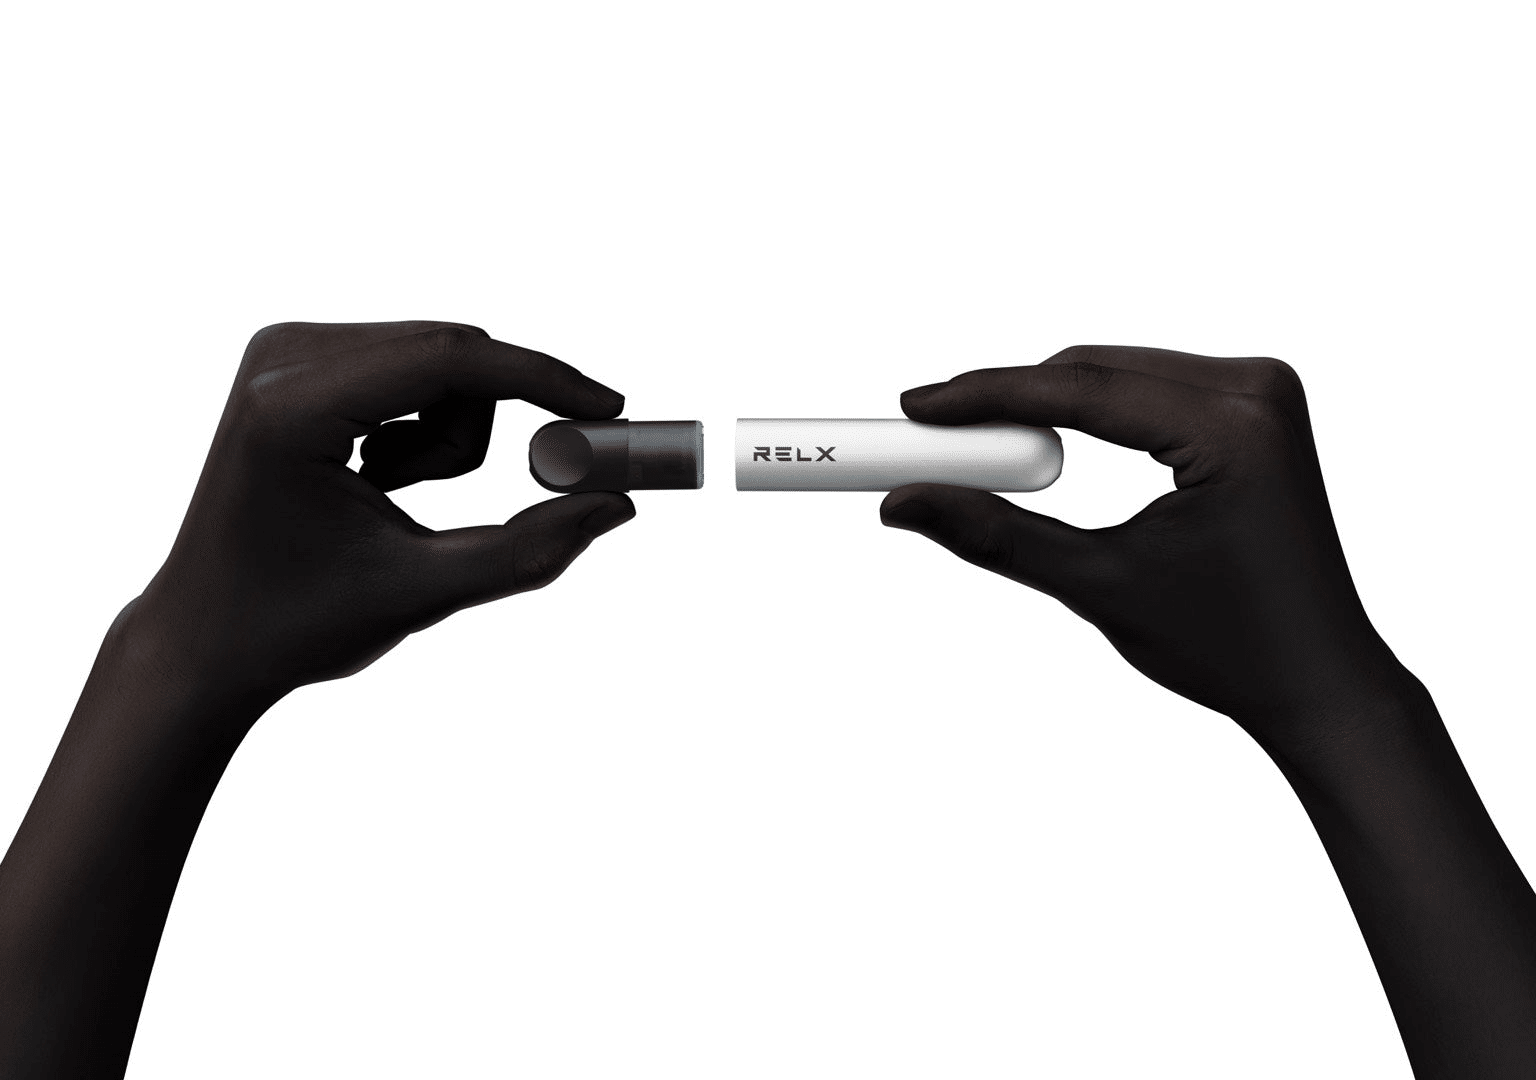
After charging, it’s time to assemble the device. The Relx vape is composed of two parts, the pod and the battery. The pod is where the e-liquid is stored, while the battery provides the power to heat the liquid and create vapor.
To assemble the device, simply insert the pod into the battery. The pod will click into place, providing a secure connection. Do not force the pod upwards; apply gentle pressure to fit into the battery.
Step 3: Fill the pod
Once the device is assembled, it’s time to fill the pod with e-liquid. To fill the pod, locate the silicone stopper on the bottom of the pod. Remove the silicone stopper to reveal the filling port. Here you can add your e-liquid of choice. Be sure not to spill or overfill the liquid as it can touch your skin or seep into the circuitry of the device.
Step 4: Let the device rest
After filling the pod, it’s recommended to let the device rest for a few minutes to ensure the e-liquid is fully absorbed into the wick, and it reduces the risk of dry/burnt hits. During this time, you can also customize the airflow and power settings to suit your preferences. Relx devices have no buttons and are drawn activated, which means puffing on the device encourages power output.
Step 5: Enjoy your vape
After allowing the device to rest, you’re now ready to enjoy the Relx vape. Place the mouthpiece to your mouth, and inhale from the mouthpiece. The device will activate automatically, producing a satisfying and smooth hit. Users should avoid excessively long or frequent puffs to avoid overheating the coil and wick.
Step 6: Maintenance and cleaning
To keep your Relx vape device functioning at its best, it’s essential to maintain it properly. Periodically wipe the device body, connector, and charging pins with a dry and clean piece of cloth. A dirty or grimy connector can cause poor connectivity, resulting in a faulty device.
Additionally, users should also keep the pod clean. Remove any excess e-liquid on the pod and rinse it with a bit of warm water. It’s important to do this regularly to prevent e-liquid residue accumulation and reduce the risk of clogs which could cause poor performance.
In conclusion, using a Relx vape is a straightforward and enjoyable process. By following these simple steps, users can easily assemble and use their Relx vape to enjoy their favorite vaping flavors. It’s important to note that different devices may have different methods of assembly and use, so always read the instructions and manuals provided with your device. Remember, always handle your vaping device with care, and if you feel any discomfort or pain during usage, stop immediately and seek medical help if necessary.
